Knowledge Base Help Center
IAR – First Steps
Before produce any In-Game video , there are some places and informations important to make possible you get the best results with the plugin.
Check your Plugin installation and FFmpeg
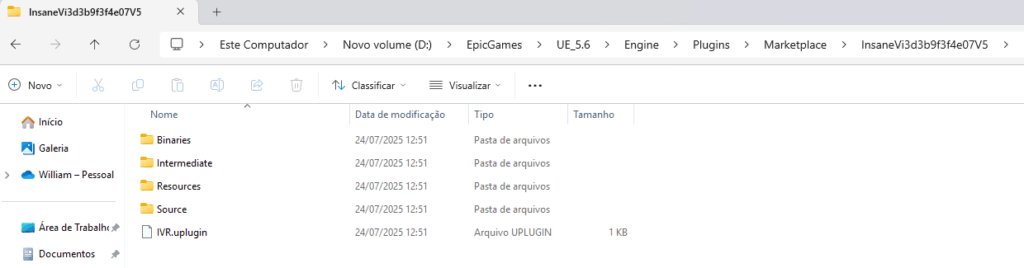
An important detail to check before any recording is to certify the presence of the plugin on your engine installation and certify the presence of FFmpeg on your system.
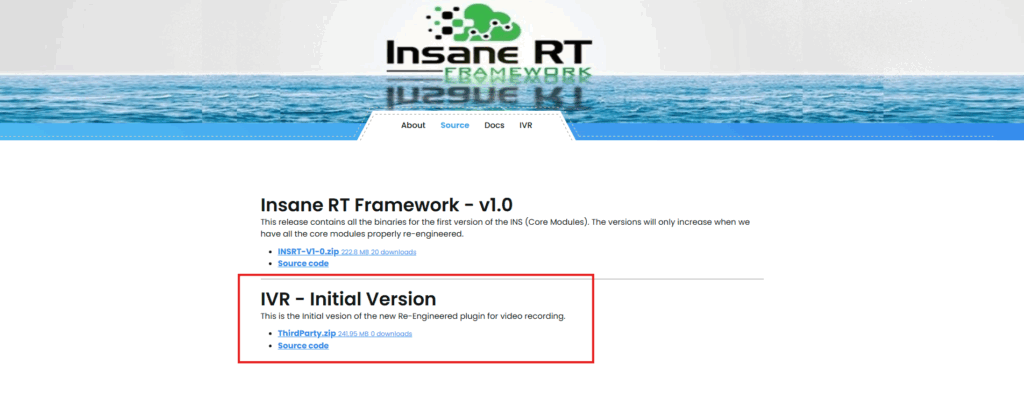
For convenience we put an a compiled version of FFmpeg download the ThirdParty folder(Unreal do not distribute thirdparty components at distribution, so you will need install it by yourself).
To download the ThirdParty folder we make it avaliable at https://insaneframework.com/source/
Compiled versions (binaries) of FFmpeg for Windows are commonly obtained from unofficial sources, but highly reliable and recommended by the FFmpeg community itself, as the official website does not offer binaries directly, only the source code.
The most commonly used and recommended links are:
- Gyan.dev (For Windows):
- This is one of the most popular and up-to-date sites for FFmpeg binaries on Windows.
- Link: www.gyan.dev
- You’ll find “release” versions (more stable) and “gpl” versions (which include more functionalities, like H.264/HEVC codecs).
- BtbN (For Windows):
- Another excellent source for updated and reliable builds for Windows, often including “nightly” (more recent) builds.
- Link: ffmpeg.btbn.de
Recommendation: For most use cases, the builds from Gyan.dev are an excellent choice, as they are stable and include the most common codecs. Download the release or gpl version.
Remember to download the version for your operating system (usually Windows, Linux, or macOS) and, after downloading, unzip the file and add the path to the FFmpeg’s bin folder to your system’s environment variables (or place it directly in your project’s executable folder if you prefer a more local solution, although the environment variable approach is usually more convenient).
Configure ThirdParty Folder
We strongly suggest that first of all, set up the ThirdParty folder, with plenty of space for recording your videos.
Now the Plugin uses the default Saved/Recordings directory(it will be created at your first recording) , so it needs to be free of lock settings so that the tool can access all files (both read and write).
Another detail that we will cover in specific tutorials is that, in order for you to obtain the highest possible performance in your real-time recordings, the Background system using the disk depends on its priority in the operating system. that is, the time your system will take to record a video Take depends on its priority in the operating system and the speed of the disk itself (we recommend using faster SSD disks).
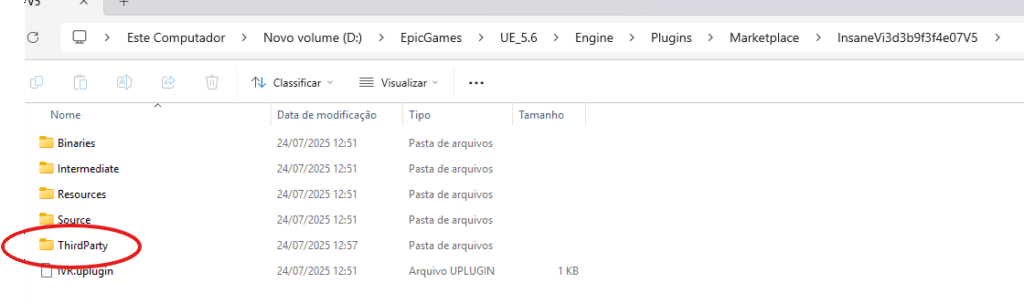
Finally to install the ThirdParty Folder, just unzip it at Plugin´s root folder: